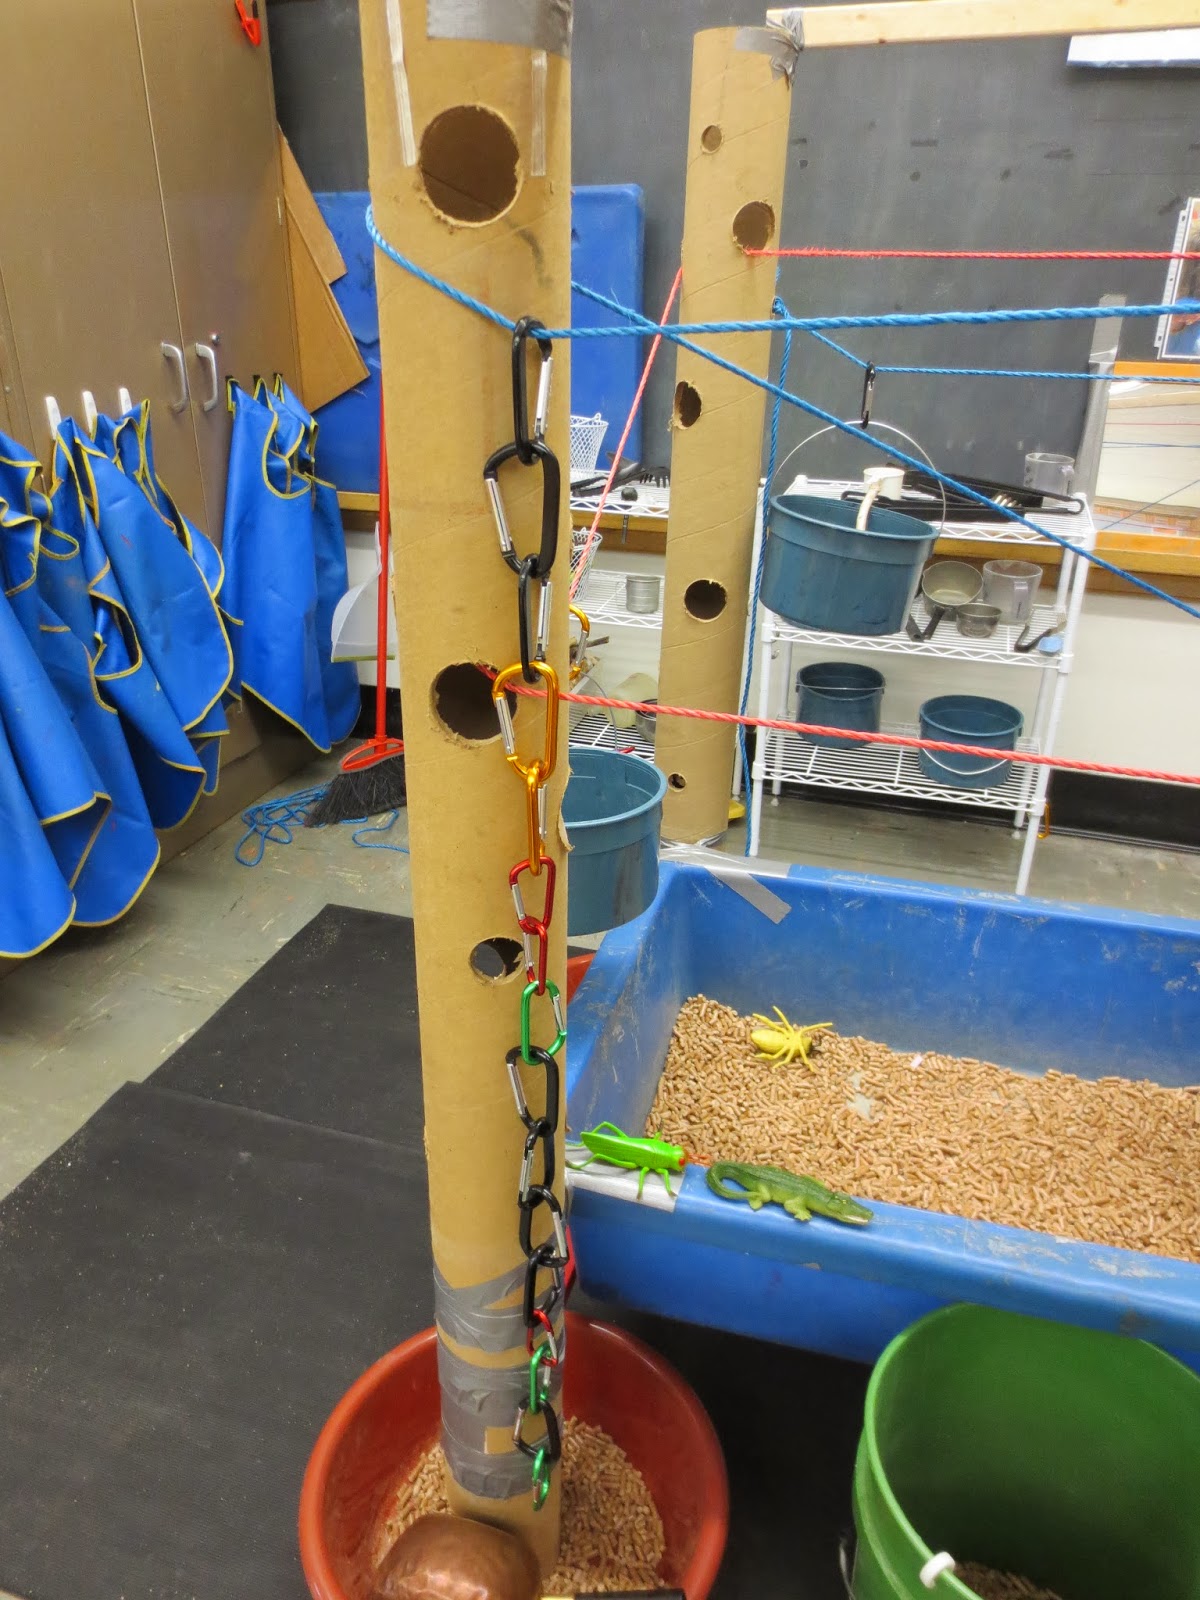
Openings were cut in the bottom of each tube because I knew children would pour and put things in the holes. To catch the stuff, I placed planter dishes under each tube.
I really expected the children to weave the ropes in and out of the holes. But there was not much of that. I would not say I was disappointed, just surprised.
Instead, there was a lot of activity centered around pouring pellets in the holes. First, there were the holes in the sides of the tubes. Have you ever tried to pour something into a hole on a vertical plane? It is not so easy because you cannot tip your cup high enough without loosing contact with the hole.

Of course, if you can find the right implement, you can pour all the pellets down the hole.
Second, there are the holes on the very top of the tubes that create a challenge the children cannot resist.
Reaching and Pouring from Thomas Bedard on Vimeo.
What is so great about this video is that the boy has to reach up as high as he can while standing on a stool all the time keeping his noodle scoop perpendicular to the tube until he can turn his wrist to pour the pellets into the top of the tube. Did you see his expression upon completing his self-appointed task? The smile is priceless.
Some of the most unique play was a direct result of the provisions offered with this apparatus. There were small pails, carabiners, and S-hooks. Below you can see all three being used: a carabiner is clamped onto to the rope; an S-hook is hitched to the carabiner, and the handle of the pail is linked into the S-hook.
When the pail is attached this way, it hangs above the table and swings back and forth.
One child hooked several carabiners together and attached a pail to the lowest carabiner. He proudly told everyone around him that it was a campfire.
In addition to the apparatus, the children took full advantage of the carabiners as unique manipulatives.
The S-hooks were also used as a new manipulative.
This girl makes linking the S-hooks look easy. That is because she does it carefully and with great precision to make sure the original links are not broken.
This apparatus fostered many unique types of exploration and play that I will write about over the next couple of weeks. In the meantime, I want to thank Juliet at Creative Star Learning for her original inspiration.


.jpg)


Brilliant. Thanks for getting my brain wheels turning.
ReplyDeleteThanks Sandi. Let me know if you have any questions. This apparatus was a lot of fun for me. It's alright for the teacher to have fun, too. Right?
Deleteממש מעניין
ReplyDelete