I will be presenting at the 2024 NAEYC conference in Anaheim, November 6 - 9th. I will be talking about creating unlimited possibilities for play and learning at the sensory table. I will highlight multiple cheap and easy-to-build constructions made from recycled materials to create unique spaces that nourish children's innate ability to make meaning through complex inquiry and problem solving. One of my objectives is to have the children tell the story of their own creativity as they inhabit those spaces.
To set the stage for the presentation, I will talk a little bit about my values as an early childhood educator. That is important because my values should be reflected in my practice. Below are a couple of my values and what they mean for my practice
1) I value each child for who they are both as an individual and as part of a group. That means I greet each child everyday in a way that communicates that I see you and your are welcome in this place. At the same time, that gives me the opportunity to take a measure of their state of being and react accordingly. If I value each child, I look for their strengths and try to find ways to validate them so they feel good about themselves. That also means I encourage them to use of their strengths to find their unique place in the classroom as we build community of mutual respect.
I like the quote by David Hawkins from his book The Informed Vision that describes the uniqueness of each child. "The product number of possible congenital patterns multiplied by possible biographies of children is of higher arithmetic order than the number of children past, present, or future. The possibility is effectively zero that there should be two children presenting the same educational challenges and opportunities"(p. 25). I think that means children are not the same and should not be treated as such.
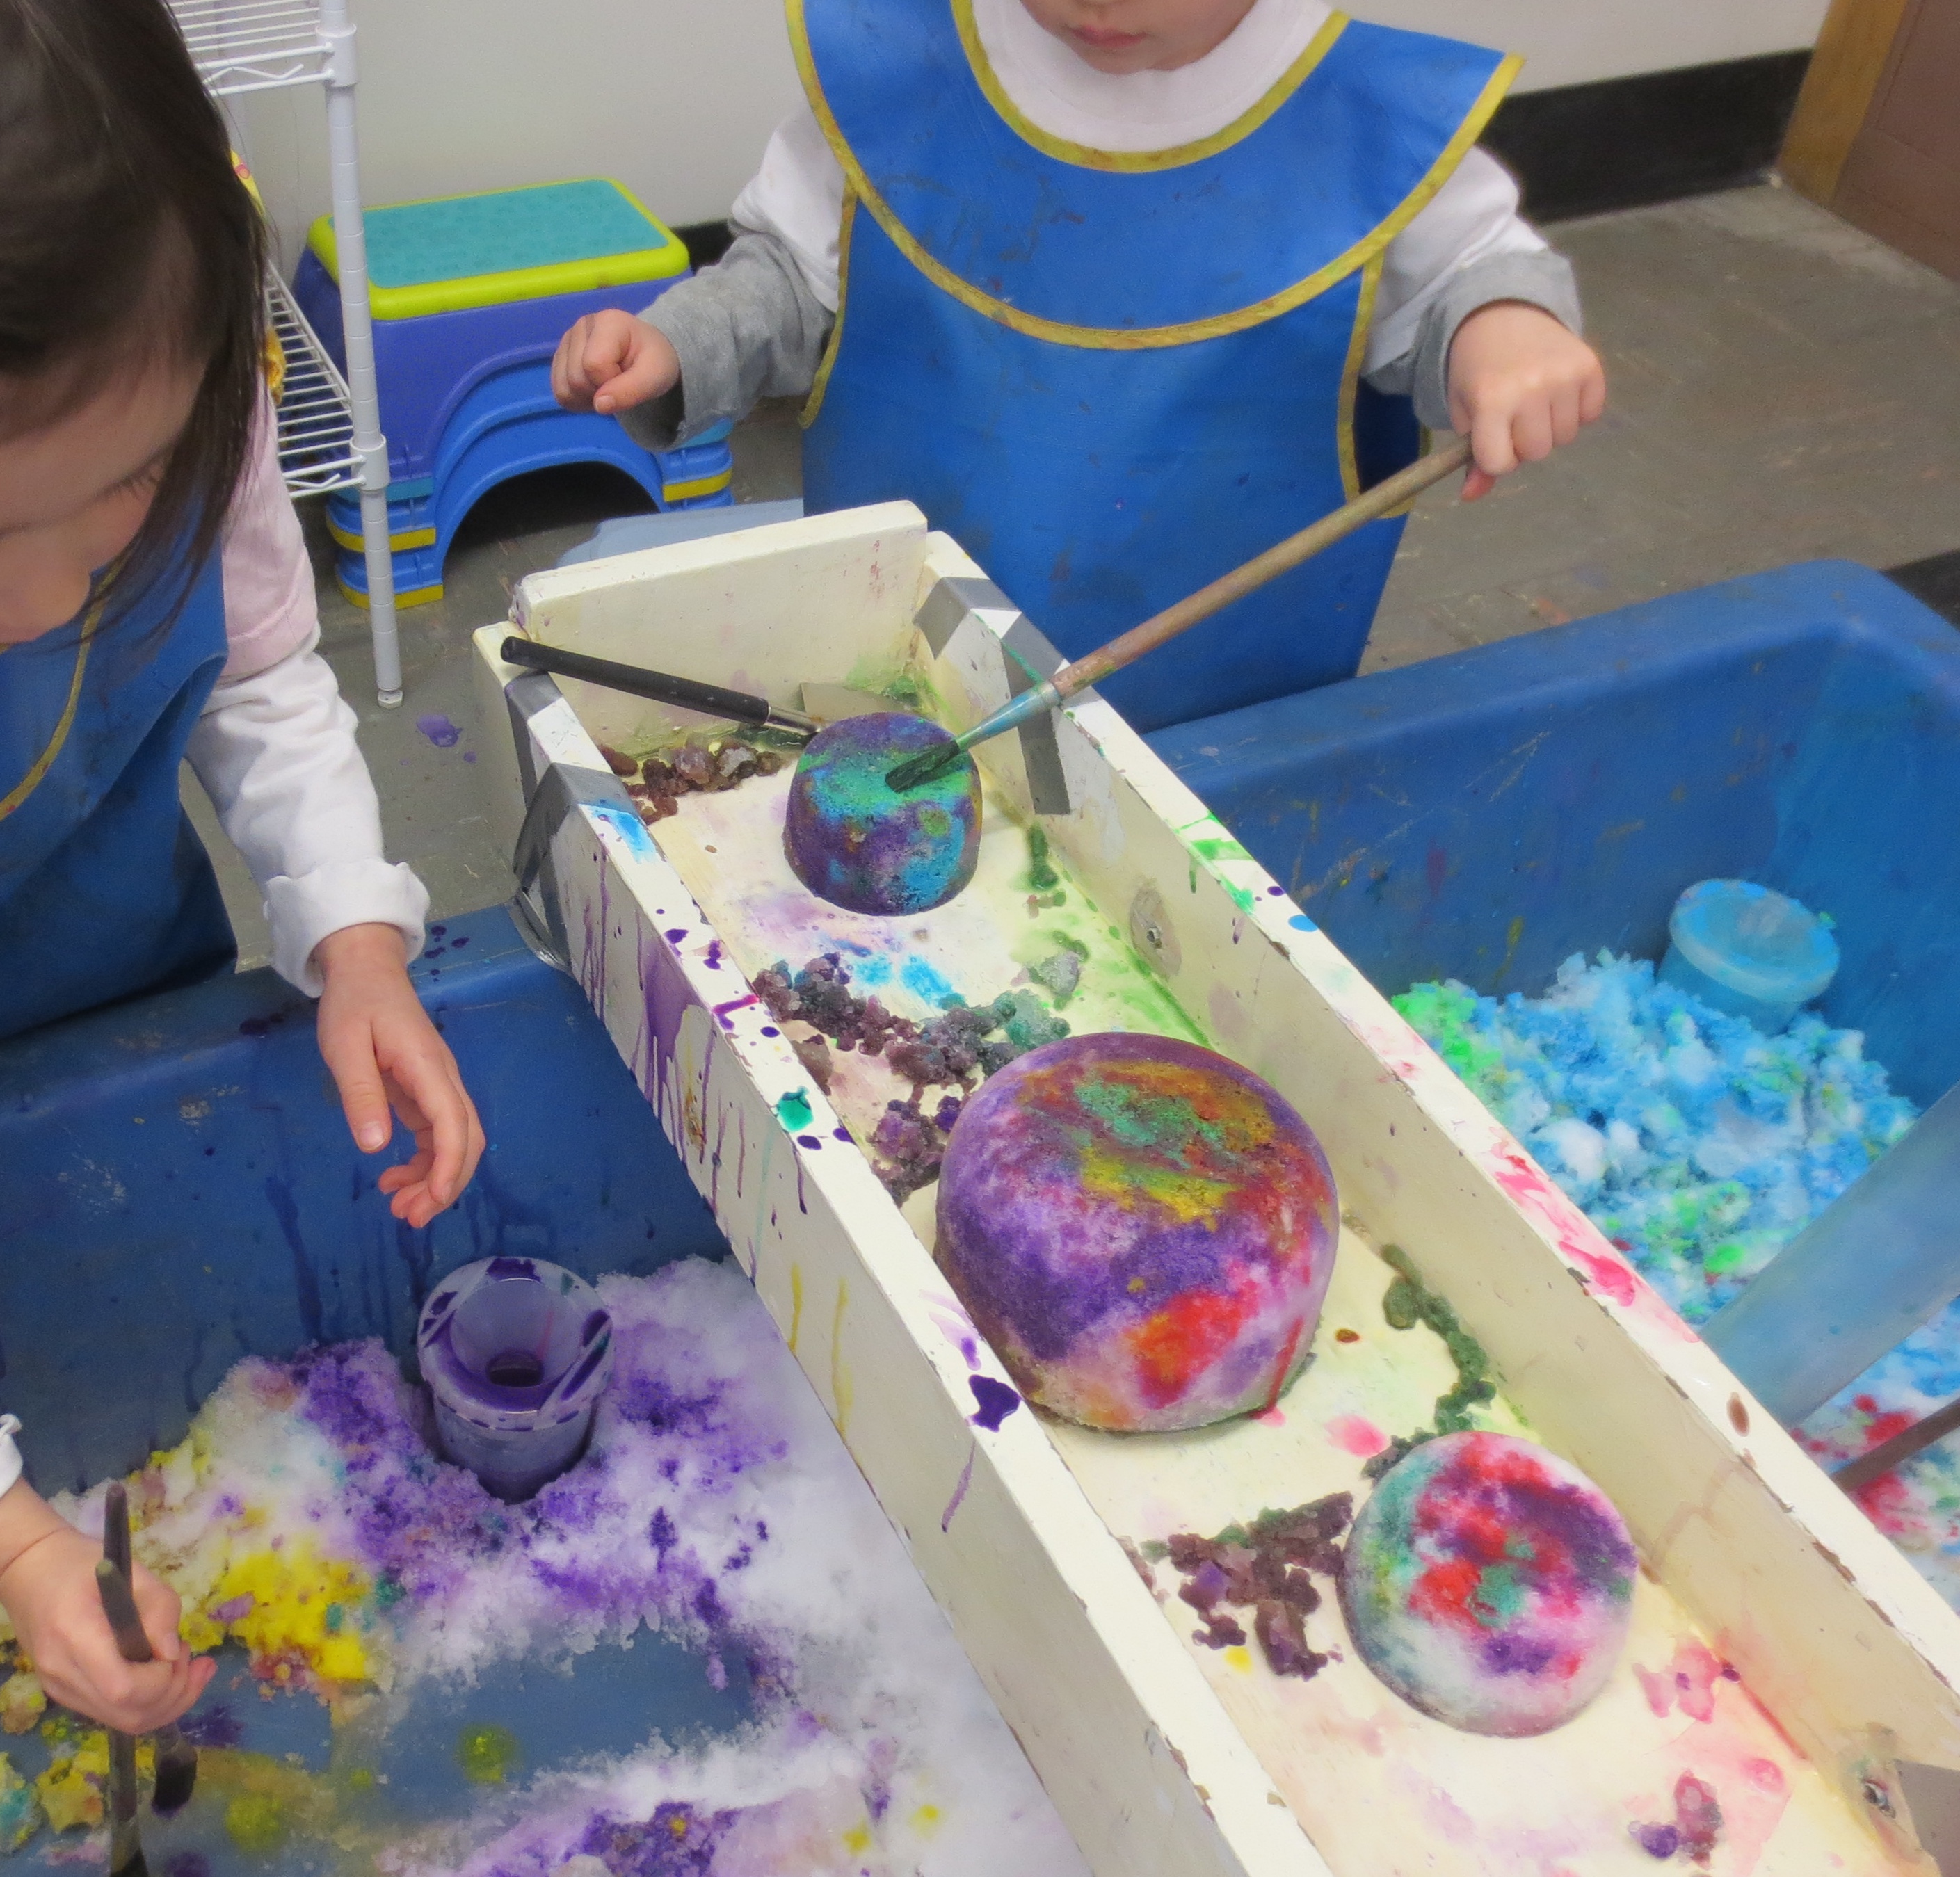
2) I value children's capacity for learning. Children come into the classroom with the tools to make meaningful choices to follow their own interests in all domains: physical, social/emotional and cognitive. That means I set up the room with open ended materials so that the children can explore, experiment and make meaning of their immediate world.
Again, let me quote David Hawkins. " Children are allowed to construct, test, probe and experiment without superimposed questions or instructions"(p. 68). Why? Because the children are capable of being authors of their own learning.
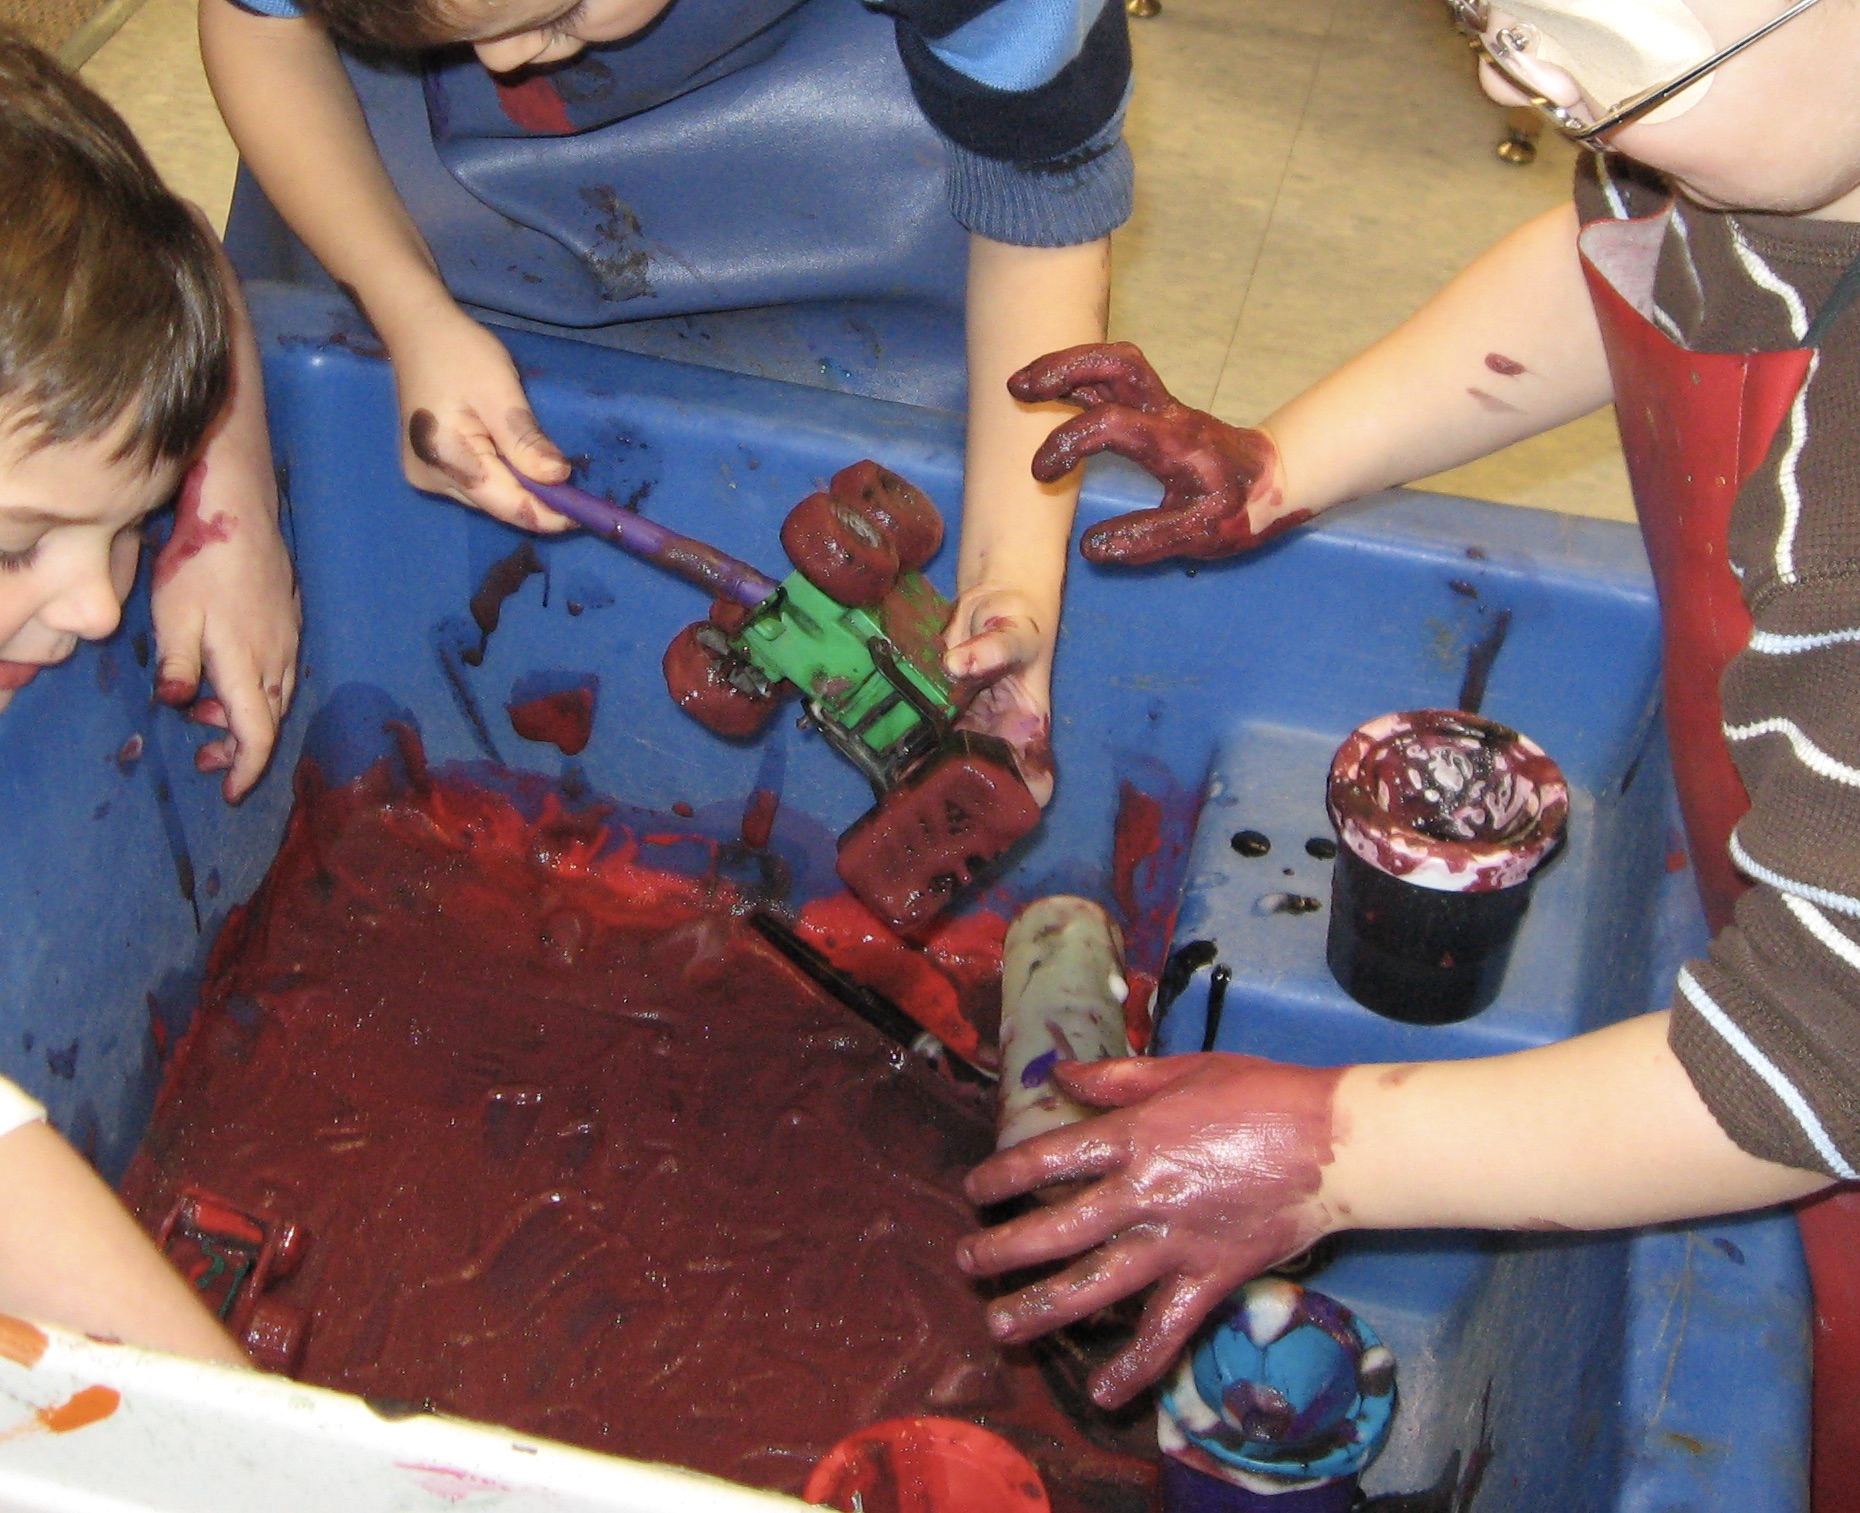
3) I value children's physical intelligence. I believe that children think with their bodies; they are always moving so they are always thinking. That means I create the conditions for the children to interact with the their world with their bodies. That includes having the opportunity to work with fine motor, gross motor and whole body operations.
This is just a taste of my values and what it means for my practice, Hopefully, I can get you to think about your values and what that means for your practice.
If you are so inclined to take in my session, please come up and say hello.
*Hawkins, D. The Informed Vision: Essays on Learning and Human Nature. New York: Algora Publishing, 2002.