
The Piggyback Inclines apparatus is a variation on the Big Box Incline

I do not save a lot of my cardboard apparatuses because of storage issues. I usually break them down, tear off the duct tape and recycle them. However, I did save the long, chute-like box that comprised a recent version of a large, closed incline. It just so happens that a neighbor recently purchased car mats that came in a sturdy box with almost the same chute-like dimensions. I quickly asked myself: Why not combine the two? I could have done it side-by-side, but piggyback fashion seemed to offer some intriguing possibilities.

One of the possibilities that emerged immediately was to place the top box in a staggered position over the bottom box. That decision led to some additional intriguing possibilities.
That same week, another neighbor bought a very large flat screen TV. It also came in a sturdy box that begged to be used. I decided to use it as the base for the Piggyback Inclines.

The TV box was wider than the table. As a consequence, I cut notches in the bottom of the box to fit over the lip of the table on each side.
Before securing the TV box to the table, I had to figure out where to cut the box in the front and where to cut the box in the back to embed the Piggyback Inclines on a slant. Whenever I try to figure out an incline, I measure by eyeball. What does that mean? I simply hold the box I want on a incline next to the base box. I then make a mark for the depth of the cut on the front side and then a mark for the depth of the cut on the back side. Rocket science it is not. Maybe I should use my high school geometry but my constructions are too ephemeral to be ruled by real math.
Once the cuts were made, I duct taped the Piggyback Inclines into the base. I also duct taped the base box to the table and the bottom incline box to the end of the table. That means I secured the apparatus at three points forming a triangle if I were to connect the dots. There is that pesky math again. Math or not, it did create a lot of stability for the whole structure.

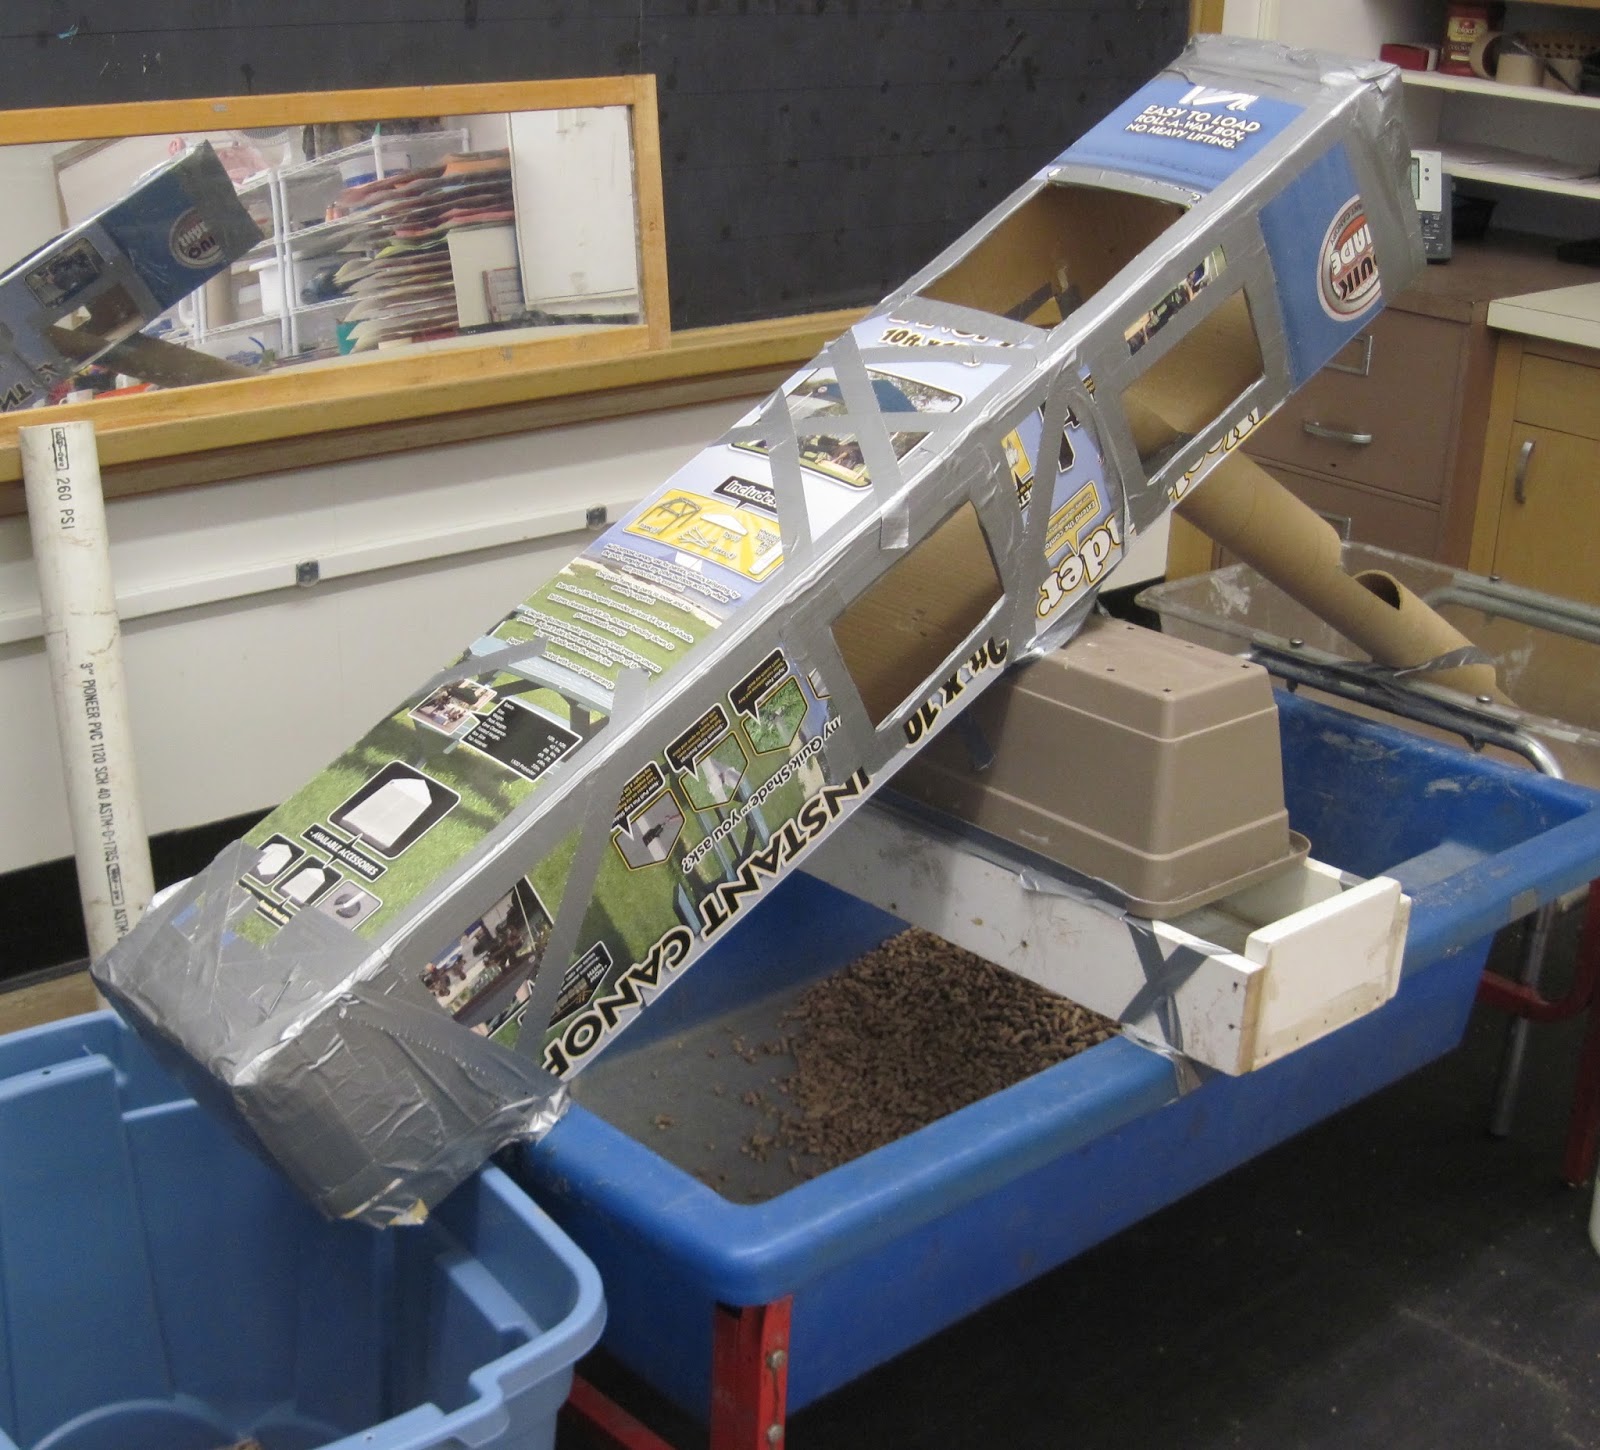
Here is a picture from the other side of the apparatus. The cut into the base box on this side was just three inches less than the front; that gave the apparatus enough of an incline.

There a couple of features of note here. The first is the long cardboard tube that is embedded in the top incline and runs down into a second table next to the blue table. Holes in the ends of the two inclines are another. Children are able to pour corn down either incline though those holes.
Here is a picture of the whole apparatus from the side. Is it a structural monstrosity or a thing of beauty? I guess you would have to ask the children.

There is a bit of subterfuge with the apparatus. When children pour corn into the chutes, there is only one exit for the corn. Children can pour corn down the tube at the top but every other hole empties at the bottom into the tub next to the table.

To understand how the corn poured into the top incline empties through the bottom incline, let's go back to the initial decision to put one box on top of the other.

 A hole already existed in the bottom of the top box. I cut a flap in the bottom box to create a slit for the corn to drop into from the top box.
A cardboard piece is taped over the hole so corn does not spill out and is further directed into the bottom incline box. This closeup shows the patch outlined in yellow. Of course, there is one on each side.

Below is a picture of the path of the corn when it is poured in any of the holes in the top incline.

If you look closely, there is a pipe coming out of the bottom of the bottom incline box. The corn does not exit through the pipe, but on either side of it. The pipe is a gutter extender that can be extended and bent.

The gutter extender is embedded through both boxes so corn poured into it travels through both boxes until is exits out the bottom incline. Here is a very rough schematic of how the gutter extender is woven into the apparatus.

If I reach up as high as I can on my tippy toes and dump the corn in this hole, where does it go?

Where did it go?

Did I say intriguing possibilities?
No comments:
Post a Comment